Easy Granny Square Crochet Pattern: Step-by-Step Guide
A simple, soft square resting in your palm provides a unique sense of accomplishment, especially when worked in a sturdy, medium-weight yarn. These squares feel dense yet flexible, making them a reliable choice for anyone new to hooking or those needing a quick, rewarding gift for friends. The repetitive nature of the double crochet groups allows your hands to find a natural rhythm while you focus on maintaining even tension. You will learn the mechanics of the center ring, the importance of consistent corner spaces, and how to transition between rows seamlessly to keep your edges crisp and flat throughout the construction.
Why Crocheters Love It
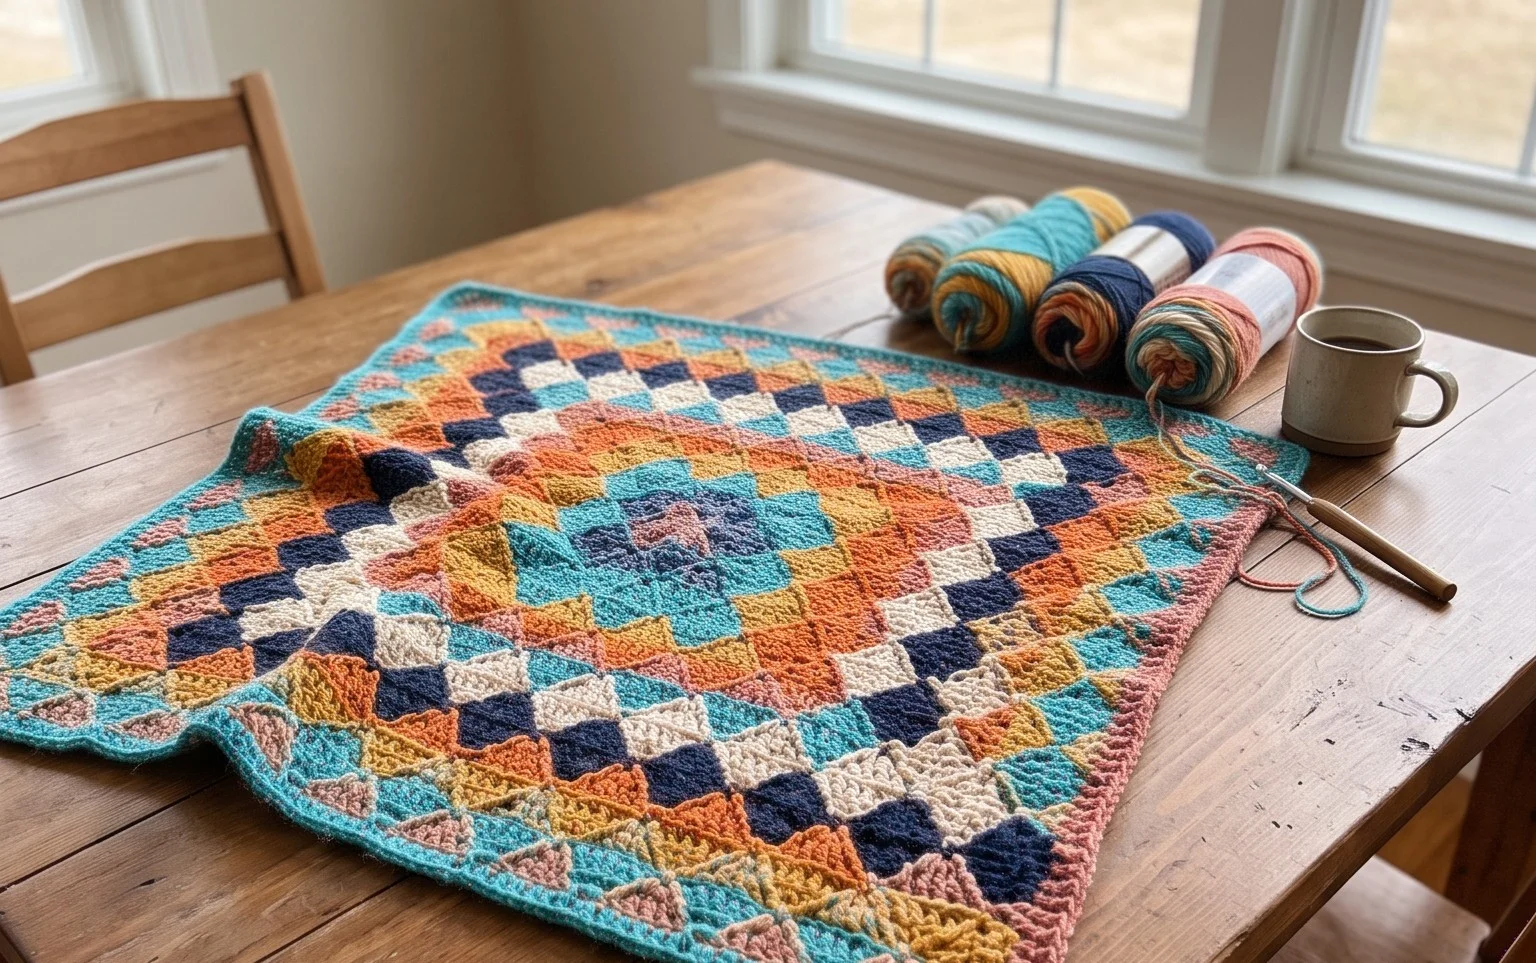
The Classic Crochet Granny Square is the fundamental building block for countless blankets, cardigans, and home decor items. This pattern uses a traditional three-double-crochet cluster technique that balances speed with structural integrity. Beginners find this project approachable because it relies on basic stitches and simple chaining, while experienced makers return to it for its meditative, repetitive rhythm. Because it is worked in rounds, you can easily stop after any row to create a square of your desired size. The design is also ideal for using up leftover yarn scraps from previous projects, allowing you to experiment with color placement without needing to purchase new materials.
I managed to finish my first square in under thirty minutes. The instructions for the corners are very clear and helped me keep my square flat without any curling.
— Sarah, hobbyist crafter
Pattern Overview & Skill Level
- Skill Level: Beginner
- Approximate Time: 30 to 45 minutes per 6-inch square
- Construction: Working in rounds starting from a center ring
- Finished Dimensions: Customizable; standard size is 6 inches by 6 inches when using worsted weight yarn
Materials & Supplies Needed
- Yarn: Worsted weight (#4), acrylic or cotton blend, approximately 20 yards per square.
- Hook Size: 5.0 mm (US H-8).
- Notions: Tapestry needle for weaving in ends, sharp scissors.
- Yarn substitutions: Wool yarn of the same weight will result in a warmer, heavier square. If using a lighter weight yarn like DK, reduce your hook size to 4.0 mm to prevent gaps, though the resulting square will be smaller.
Stitch Guide & Abbreviations (US Terms)
- ch = chain
- st/sts = stitch/stitches
- sl st = slip stitch
- dc = double crochet
- cluster = a group of 3 dc stitches worked into the same space
- sp = space
- magic ring = a method for starting a round by crocheting into an adjustable loop
Step-by-Step Pattern Instructions
This pattern is worked in continuous rounds. You will join each round with a slip stitch and chain up to reach the height of the next row.
The Granny Square Body
- Rnd 1: Start with a magic ring. Ch 3 (counts as first dc here and throughout). Work 2 dc into the ring. Ch 2. [Work 3 dc into the ring, ch 2] 3 times. Join with a sl st to the top of the beginning ch-3. (12 dc, 4 ch-2 spaces)
- Rnd 2: Sl st into the next dc and into the first ch-2 corner space. Ch 3, 2 dc, ch 2, 3 dc into the same corner space. Ch 1, skip 3 dc, (3 dc, ch 2, 3 dc) into the next ch-2 corner space. Repeat from * to * twice more. Ch 1, join with a sl st to the top of the beginning ch-3. (24 dc, 4 corner spaces, 4 side spaces)
- Rnd 3: Sl st into the next 2 sts and into the first ch-2 corner space. Ch 3, 2 dc, ch 2, 3 dc into the same corner space. Ch 1, 3 dc into the next ch-1 side space, ch 1, (3 dc, ch 2, 3 dc) into the next ch-2 corner space. Repeat from * to * twice more. Ch 1, 3 dc into the last ch-1 side space, ch 1, join with a sl st to the top of the beginning ch-3. (36 dc, 4 corner spaces, 8 side spaces)
- Rnd 4 and beyond: Continue in this pattern, working (3 dc, ch 2, 3 dc) in every corner and 3 dc into every ch-1 side space, separated by a ch 1. Each round adds 12 dc to the total count.
Finishing
Once you reach the desired size, fasten off your yarn, leaving a 6-inch tail. Use a tapestry needle to weave the tail through the back of the stitches to secure it. If the square appears slightly uneven, lightly dampen it and pin it to a flat surface until dry to block it into a perfect shape.
Care & Washing Instructions
- Machine wash your finished items on a gentle cycle in cold water using a mild detergent.
- Lay the item flat on a towel to air dry, as hanging can cause the weight of the water to stretch the stitches.
- Avoid using high heat or bleach, which can damage the fiber structure and cause the colors to fade.
Pro Tips & Common Mistakes to Avoid
Maintaining consistent tension is the secret to a professional-looking square. If your work begins to curl, your tension is likely too tight; if it ruffles, it is too loose. Always place a stitch marker in the first stitch of each round if you find yourself losing track of where you joined. To weave in ends so they remain invisible, run your needle through the back loops of the stitches of the same color. If you decide to add more rounds to make the square larger, keep in mind that you will need more yardage for every subsequent round since the circumference increases with each pass.
Frequently Asked Questions
Can I use a different weight yarn for this pattern?
Yes, you can use any weight of yarn, but you must adjust your hook size to match. Check your yarn label for the recommended hook size and start there; if the resulting fabric has too many holes, go down a half size.
Is this pattern suitable for complete beginners?
This is an ideal starter project. It teaches you how to work in the round, how to create corners, and how to read basic stitch abbreviations without the complexity of shaping.
Can I sell the squares I make from this tutorial?
You are welcome to sell finished items made from this pattern as long as you credit the original design and use your own photographs for your listings.
Why is my square not looking like a perfect square?
Usually, this happens if you skip the chain-1 spaces between clusters on the sides. Always ensure you are working a ch-1 between the groups of double crochets to provide enough room for the fabric to lay flat.
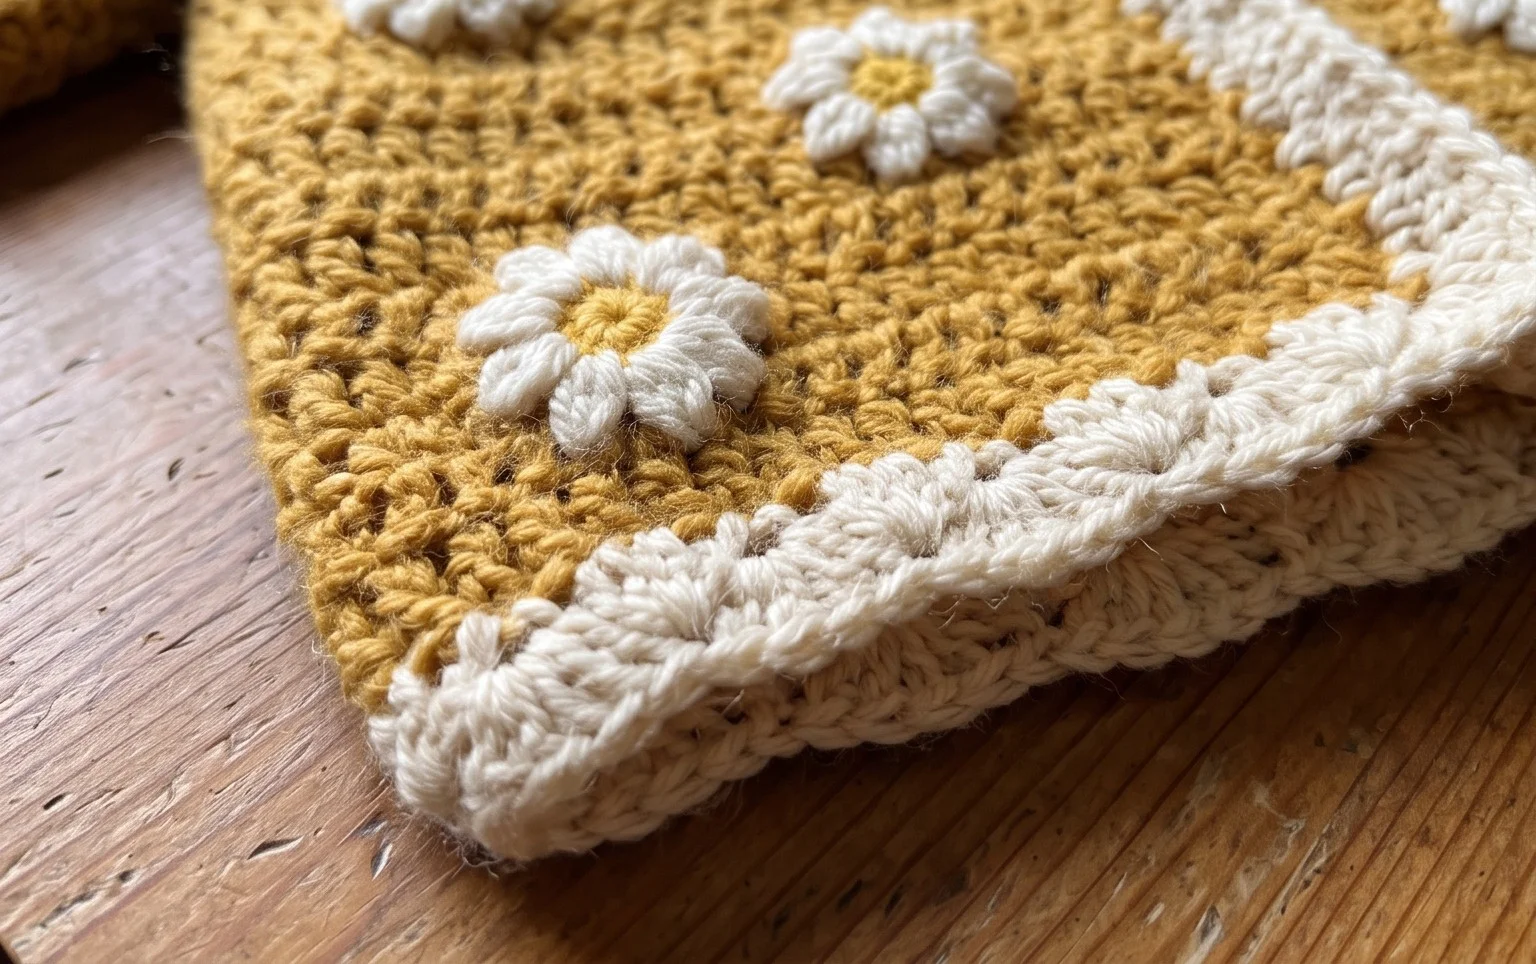
Your finished square now holds a solid, clean shape that reflects your time and effort spent on every stitch. Try working this in a single solid color to highlight the texture, or use a variegated yarn for a playful, scrap-friendly look. Please share a photo of your finished project on social media so others can see your color choices. You can find more free patterns and additional construction tips by browsing the rest of the blog for your next afternoon hobby session.