10 Easy Last Minute Crochet Gifts: Free Pattern Ideas
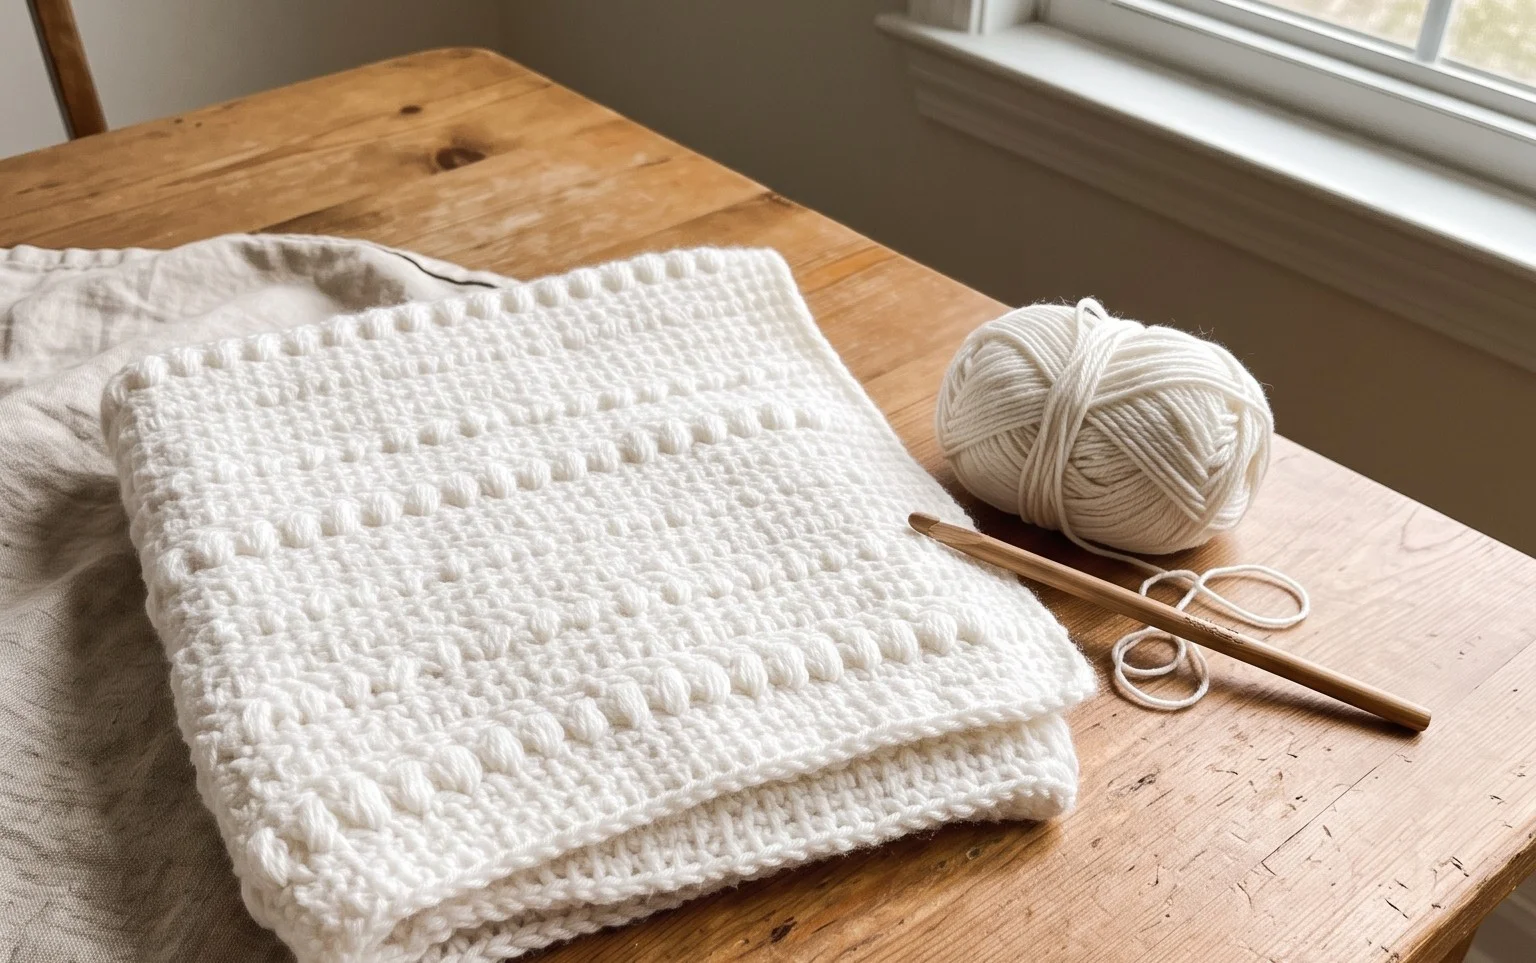
A handmade gift carries a warmth that store-bought items simply cannot replicate, especially when you are short on time. These quick projects feature soft cotton textures and cozy silhouettes that suit any home decor lover or beginner crafter. You will spend less than an hour on most of these designs, using basic stitches to create something thoughtful for friends or family. This collection focuses on simple construction methods that require minimal supplies, ensuring your hands stay busy without stress. You will learn to manipulate tension and basic hook movements to build items that feel substantial yet light, turning leftover yarn into treasures.
Why This Project Is Worth Making
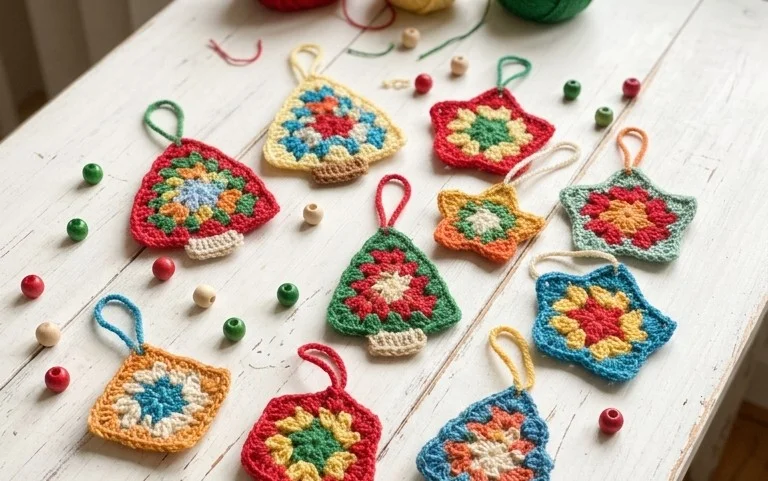
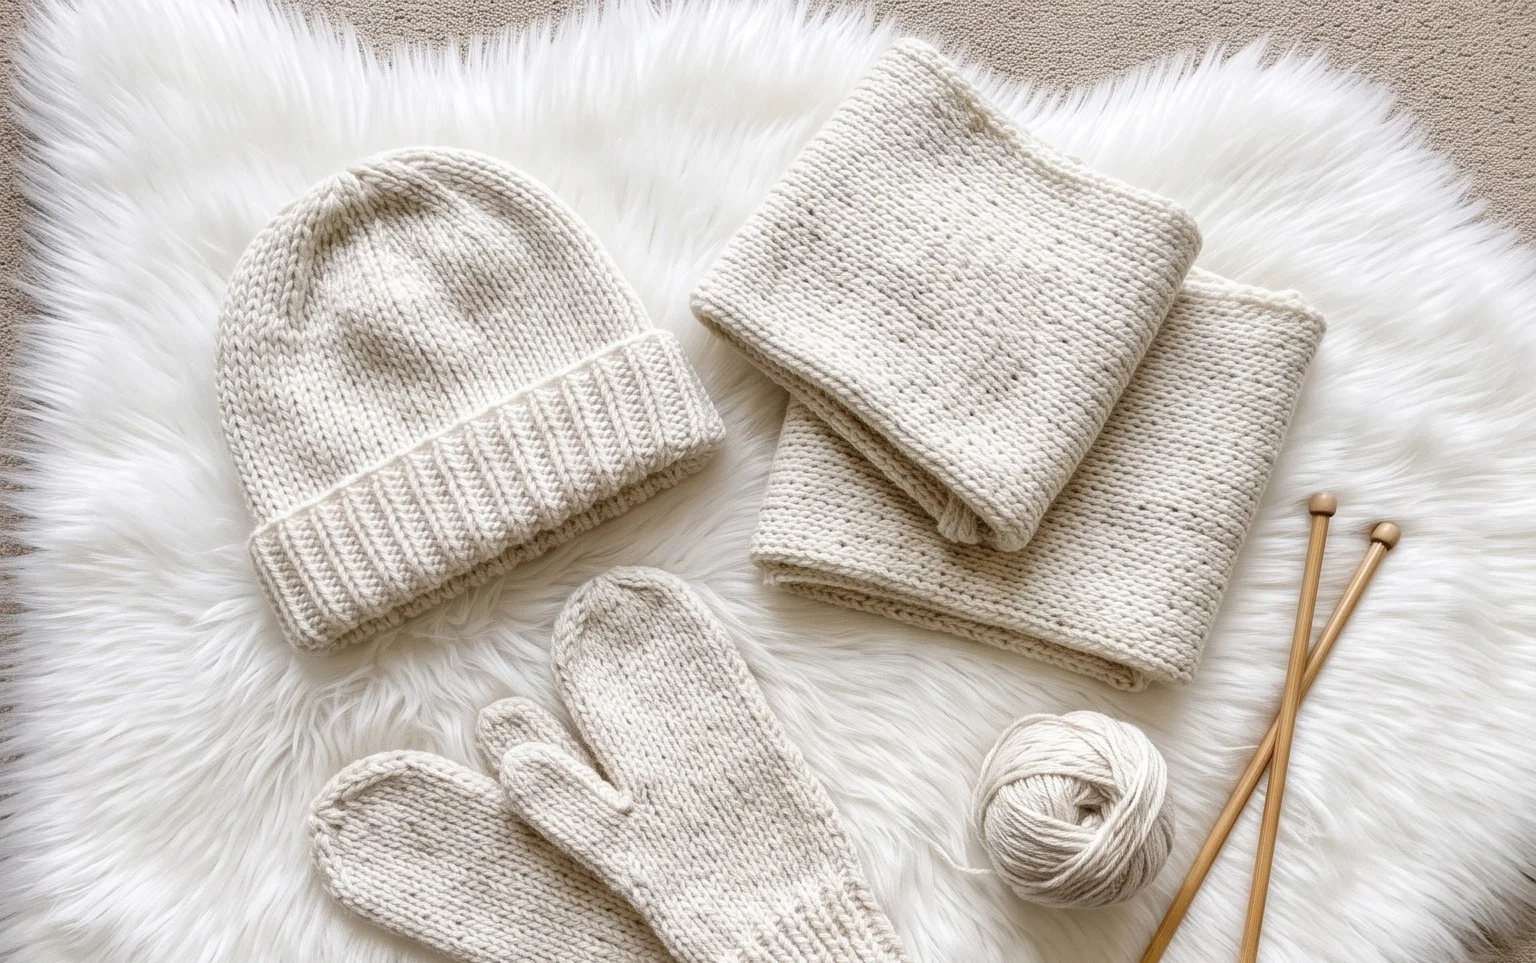
The Classic Crochet Granny Square is the fundamental building block of the craft, utilizing a repetitive cluster-based construction that grows quickly with every round. This specific pattern is ideal for using up leftover yarn from larger projects, as each square consumes only a few yards of material. Because the pattern relies on chain spaces rather than stitching into dense loops, it remains flexible and lightweight, making it suitable for blankets, tote bags, or decorative cushions. You can master the tension of your stitches in just a few rounds, and the rhythmic nature of the work provides a meditative experience for crafters of any experience level.
I finally learned how to keep my corners square using this guide, and the instructions for the chain-two gaps made the process so much easier than my previous attempts.
— Sarah, hobbyist maker
Pattern Overview & Skill Level
- Skill Level: Beginner
- Approximate Time: 30 to 45 minutes per square
- Construction: Worked in continuous rounds from the center outward
- Finished Dimensions: Approximately 5 inches by 5 inches using medium weight yarn
Materials & Supplies Needed
- Yarn: Worsted weight (#4), 100% cotton or acrylic blend, approximately 15 yards per square.
- Hook Size: 5.0 mm / H-8
- Notions: Yarn needle for weaving ends, scissors, and a measuring tape.
- Yarn Substitutions: You may use DK weight (#3) yarn with a 4.0 mm hook for a smaller, tighter square, or bulky weight (#5) yarn with a 6.0 mm hook for a larger, faster-growing project.
Stitch Guide & Abbreviations (US Terms)
- ch: Chain
- st/sts: Stitch/stitches
- sl st: Slip stitch (insert hook, yarn over, pull through loop and stitch)
- dc: Double crochet (yarn over, insert hook, yarn over, pull up loop, yarn over, pull through two loops, yarn over, pull through remaining two loops)
- cl: Cluster (a group of 3 dc stitches worked into the same space)
- sp: Space created by chain stitches
Step-by-Step Pattern Instructions
Center and Foundation
- Start: Ch 4, sl st to the first ch to create a ring.
- Rnd 1: Ch 3 (counts as first dc here and throughout), work 2 dc into the ring, ch 2, *3 dc into ring, ch 2; repeat from * twice more. Sl st to the top of the initial ch 3 to join. (12 sts, 4 corner spaces)
Expanding the Square
- Rnd 2: Sl st into the first corner sp. Ch 3, 2 dc in same sp, ch 2, 3 dc in same sp (corner made). *Ch 1, skip 3 sts, [3 dc, ch 2, 3 dc] in next corner sp; repeat from * twice more. Ch 1, sl st to the top of the initial ch 3. (24 sts, 4 corner spaces)
- Rnd 3: Sl st into the first corner sp. Ch 3, 2 dc in same sp, ch 2, 3 dc in same sp (corner made). *Ch 1, 3 dc in next ch-1 sp, ch 1, [3 dc, ch 2, 3 dc] in corner sp; repeat from * twice more. Ch 1, 3 dc in last ch-1 sp, ch 1, sl st to the top of the initial ch 3. (36 sts, 8 side spaces, 4 corner spaces)
- Rnd 4: Continue in established pattern, placing a cluster of 3 dc in every side chain-1 space and [3 dc, ch 2, 3 dc] in every corner. (48 sts, 12 side spaces, 4 corner spaces)
Finishing
Fasten off your yarn, leaving a 6-inch tail. Pull the tail through the final loop to secure the knot. Use your yarn needle to weave the end back and forth through the back loops of the stitches to hide it securely. Trim any excess yarn close to the fabric.
Care & Washing Instructions
- Hand wash your finished items in cool water with a gentle detergent to prevent color bleeding or fiber stretching.
- Lay the square flat on a clean towel, reshaping the corners with your fingers, and allow it to air dry away from direct heat or sunlight.
- If the square appears wavy after washing, dampen it slightly and pin it flat to a blocking board until completely dry.
Pro Tips & Common Mistakes to Avoid
Maintain consistent tension by ensuring your initial chain stitches are not pulled too tightly, which can cause the center of your square to cup or ripple. Use a stitch marker in the first stitch of every round to keep track of where your rounds begin, especially if you are changing colors frequently. Weave your yarn ends in opposite directions to prevent them from loosening over time with use. If you want to increase the size of your square, simply continue the pattern logic of placing clusters in side spaces and corners indefinitely, keeping in mind that each additional round will require more yarn than the previous one.
Frequently Asked Questions
Can I use a different weight of yarn for this project?
Yes, you can use any weight of yarn, but be sure to adjust your hook size accordingly to maintain a fabric that is neither too stiff nor too holey. Using a larger hook with thin yarn will result in a loose, open weave.
Is this pattern suitable for someone who has never held a crochet hook?
This pattern is beginner-friendly because it focuses on the double crochet stitch and chain spaces. Practice your double crochet technique on a scrap piece of yarn before starting the square to ensure your edges look even.
How do I join multiple squares together?
You can join squares using a whip stitch with a yarn needle or by using a slip stitch join through the back loops of both squares. Both methods create a flat, durable seam for blankets or garments.
May I sell items made from this pattern?
You may sell finished items you create with this pattern. Please provide credit to the designer whenever possible and use your own photographs to represent your work.
Your finished project brings a personal touch to any room and makes an excellent gift for someone special. You can easily modify the size of these squares by adding extra rounds or switching to a wool blend for added warmth during colder months. Sharing a photo of your work on social media helps others find inspiration for their own handmade collections. Please feel free to browse the rest of the blog for more free patterns that you can complete in a single afternoon of dedicated crafting time.