25 Free Baby Lovey Crochet Patterns for Beginners
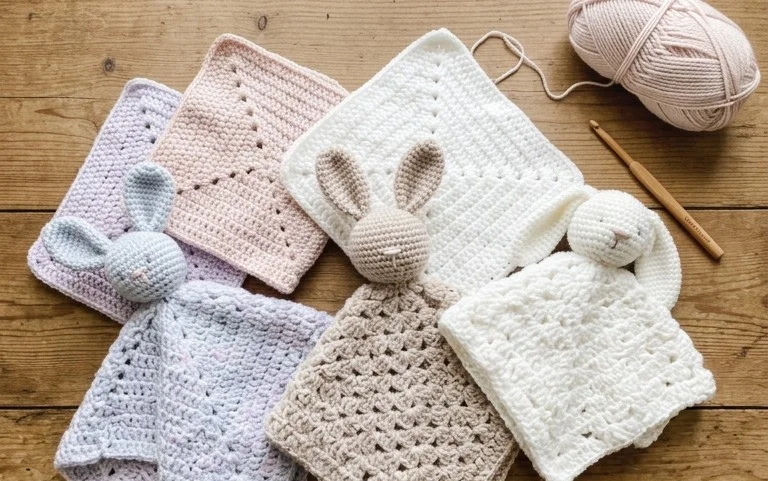
Soft cotton yarn forms the heart of these comforting security blankets, offering a gentle texture that babies love to hold during naps. These small squares provide a quick, rewarding project for busy parents or anyone needing a thoughtful gift for a baby shower. You will find that working these motifs allows you to practice consistent tension and clean edge work while building something truly useful. Each design relies on basic stitches like chains and double crochet, making the process straightforward even if you have only just picked up a hook for the very first time today.
Why You’ll Love This Pattern
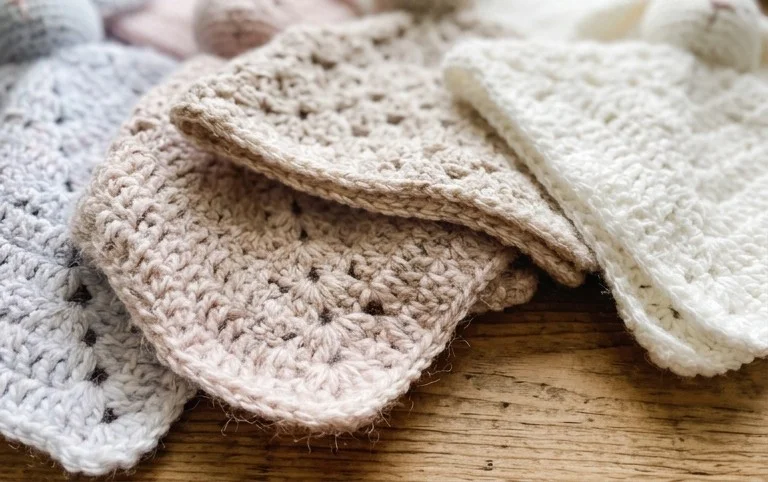
The Classic Crochet Granny Square is the fundamental building block for countless textile projects, from cozy blankets to lightweight summer bags. Because it relies on a simple, repeating cluster of double crochet stitches, you can pick this project up and put it down without losing your place. The repetitive nature of the rounds makes it a soothing, meditative task that is ideal for clearing out partial skeins of yarn left over from larger makes. Once you master the technique of joining these motifs, your design possibilities become endless.
I finally learned how to keep my corners sharp and my edges flat with this guide, and now I have a whole stack of squares ready to be joined into a throw for my living room.
— Sarah, beginner crocheter
Pattern Overview & Skill Level
- Skill Level: Beginner
- Approximate Time: 30 to 45 minutes per square
- Construction: Worked in joined rounds, starting from the center and moving outward
- Finished Dimensions: Approximately 6 inches by 6 inches when using worsted weight yarn and a 5.0 mm hook
Materials & Supplies Needed
- Yarn: Worsted weight (#4) acrylic or cotton yarn, approximately 20 yards per square.
- Hook Size: 5.0 mm (US H-8).
- Notions: Tapestry needle for weaving in ends, scissors, and optional stitch markers to help identify the corner spaces.
- Safe Yarn Substitutions: You can use DK weight yarn for a smaller, tighter square, or bulky weight yarn for a larger, quicker motif. Note that changing yarn weight will significantly alter the final dimensions and drape.
Stitch Guide & Abbreviations (US Terms)
- ch: chain
- st/sts: stitch/stitches
- sl st: slip stitch
- dc: double crochet
- dc cluster: three double crochet stitches worked into the same space
- sp: space (the gap created by the chain stitches)
Step-by-Step Pattern Instructions
Granny Square Body
- Rnd 1: Start with a magic ring or chain 4 and sl st to the first chain to form a ring. Ch 3 (counts as first dc), work 2 dc into the ring, ch 2. *Work 3 dc into the ring, ch 2. Repeat from * 2 more times. Join with a sl st to the top of the initial ch 3. (12 sts, 4 ch-2 spaces)
- Rnd 2: Sl st into the next 2 sts and into the first ch-2 corner space. Ch 3, 2 dc, ch 2, 3 dc into the same corner space. *Ch 1, skip 3 sts, work (3 dc, ch 2, 3 dc) into the next ch-2 corner space. Repeat from * 2 more times. Ch 1, join with a sl st to the top of the initial ch 3. (24 sts, 4 ch-2 spaces, 4 ch-1 spaces)
- Rnd 3: Sl st into the next 2 sts and into the first ch-2 corner space. Ch 3, 2 dc, ch 2, 3 dc into the same corner space. *Ch 1, 3 dc in the next ch-1 space, ch 1, work (3 dc, ch 2, 3 dc) into the next ch-2 corner space. Repeat from * 2 more times. Ch 1, 3 dc in the last ch-1 space, ch 1, join with a sl st to the top of the initial ch 3. (36 sts, 4 ch-2 spaces, 8 ch-1 spaces)
- Finishing: Fasten off the yarn, leaving a 6-inch tail. Use your tapestry needle to weave the yarn tail through the back of the stitches to secure it.
Care & Washing Instructions
- Machine wash on a gentle cycle in cool water if using acrylic yarn, or hand wash if using wool.
- Always lay the finished item flat on a towel to air dry, as hanging can cause the square to stretch out of shape.
- Reshape the square by gently pulling the corners while it is damp to ensure it remains a true square during the drying process.
Pro Tips & Common Mistakes to Avoid
- Maintain consistent tension by ensuring your yarn feed is smooth; if your stitches look tight or distorted, try going up a half-size in hook diameter.
- Use a stitch marker in the top of your initial ch 3 at the start of every round so you do not accidentally miss your join point when completing the round.
- Weave in your ends diagonally across the back of the dc clusters to keep the work clean and prevent tails from popping through to the right side.
- Adjust the size of the square by simply repeating the logic of Rnd 3; each additional round requires adding a cluster of 3 dc into every ch-1 space created by the previous round.
Frequently Asked Questions
Can I use different yarn weights in one project?
It is possible, but not recommended for beginners. If you mix yarn weights, your squares will have different sizes, which makes joining them into a flat garment or blanket very difficult.
Why do my squares look wavy or ruffled instead of flat?
This usually happens because your tension is too loose or you are adding too many chain stitches between clusters. Try working your double crochet stitches firmly and ensure you only chain 1 between side clusters.
How do I join these squares together once they are finished?
You can use a whip stitch with a tapestry needle or join them using a flat slip stitch seam on the right side for a decorative, raised edge effect.
May I sell items made from this pattern?
Yes, you are welcome to sell finished items created with this design. Please credit the pattern origin if you are selling them in an online shop or at a craft fair.
A finished lovey brings warmth to a nursery and serves as a keepsake that lasts for years. You can experiment by switching to a variegated velvet yarn if you want an even squishier finish for the nursery or a larger square for a toddler. I love seeing the color combinations you choose, so please share a photo of your work on your favorite social media site. Head over to the main archive to find more free patterns that build on these same basic techniques for your future projects.