Easy Granny Square Crochet Ornaments – Free Pattern
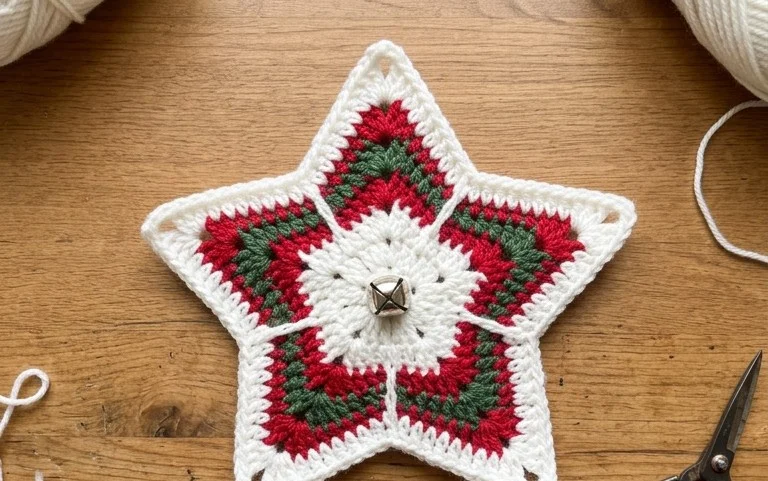
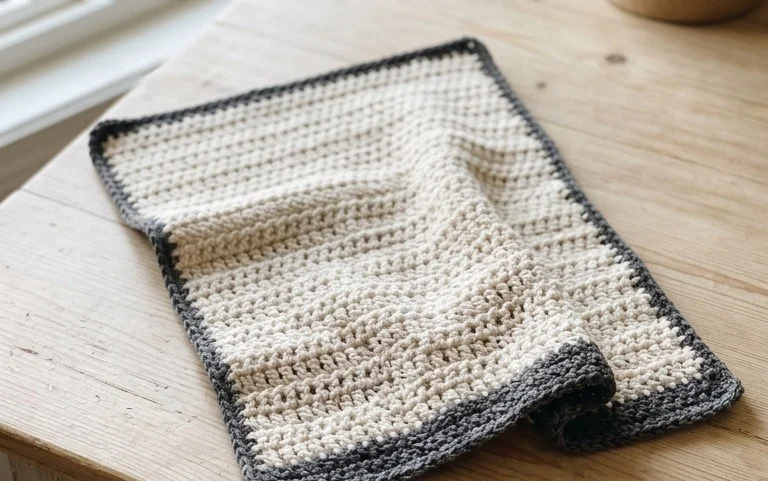
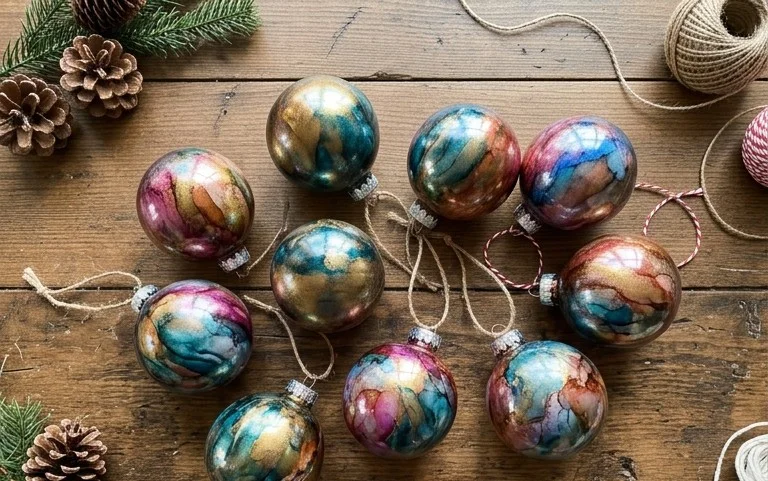
These hanging ornaments possess a soft, squishy texture that makes them hang beautifully from a holiday branch or window hook. They suit beginners who want a quick win and gift makers looking for something personal to fill a small package. The repetitive stitches create a sense of calm during a busy afternoon at home. You will learn the basic technique of turning your work to keep the square flat and crisp. These small squares provide a warm touch to any room, turning simple leftover yarn into something meaningful that you can treasure for years to come.
Why You’ll Love This Pattern
The Classic Crochet Granny Square is the building block of heritage crafting, offering a rhythmic, meditative process that transforms simple yarn into a versatile square. This project is ideal for using up leftover bits of yarn, as each round can be worked in a different color. Because the square grows outward from the center, you can stop at any size to suit your specific needs, whether you are making a coaster, a bag, or a full-sized blanket. Beginners appreciate the clear, repetitive nature of the double crochet clusters, which allows for quick progress and visual satisfaction within just a few minutes of stitching.
I learned to crochet using this exact pattern, and the way the stitches lock together finally made sense after the second round. It is the only pattern I keep on my desk for when I just need to stitch something familiar and relaxing.
— Sarah, hobbyist crafter
Pattern Overview & Skill Level
- Skill Level: Beginner
- Approximate Time: 30 to 45 minutes per square
- Construction: Worked in rounds from the center outward, turning the piece after each round to keep the square balanced
- Finished Dimensions & Sizing: Approximately 6 inches square when using worsted weight yarn and a 5.0 mm hook
Materials & Supplies Needed
- Yarn: Worsted weight (#4) acrylic or wool blend, approximately 20 yards per square.
- Hook Size: 5.0 mm (US H-8)
- Notions needed: Yarn needle for weaving ends, sharp scissors.
- Safe yarn substitutions: You may use DK weight (#3) yarn with a 4.0 mm hook for a smaller, tighter square, or bulky weight (#5) yarn with a 6.0 mm hook for a larger, quicker square. Adjusting yarn weight will change the final dimensions but will not change the stitch count or construction method.
Stitch Guide & Abbreviations (US Terms)
- ch: Chain
- st: Stitch
- sl st: Slip stitch
- dc: Double crochet
- dc-cluster: 3 dc in the same space
- sp: Space created by chain stitches
- MR: Magic Ring
Step-by-Step Pattern Instructions
Center and Foundation
- Rnd 1: Start with a MR. Ch 3 (counts as first dc throughout). Work 2 dc into the ring, ch 2. *Work 3 dc into the ring, ch 2. Repeat from * 2 more times. Join with a sl st to the top of the initial ch 3. (12 dc, 4 ch-2 sps)
Expanding the Square
- Rnd 2: Sl st into the first ch-2 corner sp. Ch 3, 2 dc, ch 2, 3 dc in the same corner sp. *Ch 1, (3 dc, ch 2, 3 dc) in the next ch-2 corner sp. Repeat from * 2 more times. Ch 1, join with a sl st to the top of the initial ch 3. (24 dc, 4 ch-2 sps, 4 ch-1 sps)
- Rnd 3: Sl st into the next dc and into the corner sp. Ch 3, 2 dc, ch 2, 3 dc in the corner sp. *Ch 1, 3 dc in the next ch-1 side sp, ch 1, (3 dc, ch 2, 3 dc) in the next corner sp. Repeat from * 2 more times. Ch 1, 3 dc in the final ch-1 side sp, ch 1, join with a sl st to the top of the initial ch 3. (36 dc, 4 ch-2 sps, 8 ch-1 sps)
- Rnd 4: Continue the pattern by working (3 dc, ch 2, 3 dc) into every corner sp and 3 dc into every ch-1 side sp, separated by a ch 1. Join each round with a sl st to the first st and continue until the square reaches your desired size.
Finishing
After reaching the final round, fasten off your yarn, leaving a six-inch tail. Pull the tail through the final loop to secure it. Use a yarn needle to weave the end back and forth through the back of the stitches to ensure it does not come undone during washing.
Care & Washing Instructions
- Machine wash your finished squares on a gentle cycle in cool water using a mild detergent.
- Lay the item flat on a towel to air dry, reshaping it into a perfect square while it is still damp.
- Avoid using bleach or high heat, as these can damage the fiber structure and cause the square to lose its shape.
Pro Tips & Common Mistakes to Avoid
Keep your tension consistent throughout the square to prevent it from cupping or ruffling. If the square does not lay flat, your tension might be too tight on the chains or too loose on the double crochet stitches. Using a stitch marker at the start of each round helps you track where to join, ensuring you do not skip the initial chain space. To weave ends invisibly, feed the yarn tail through the loops of the stitches on the wrong side of the work, moving in two different directions to lock the yarn in place. You can easily adjust the size of the project by adding more rounds; just remember that each additional round increases the yarn requirement by approximately 15 percent.
Frequently Asked Questions
Can I use a different weight of yarn for this pattern?
Yes, you can use any yarn weight provided you use the corresponding hook size recommended on the yarn label. The stitch counts remain the same regardless of the yarn thickness, though the final square size will change.
Is this pattern suitable for someone who has never held a crochet hook?
This is a foundational pattern that introduces the double crochet and chain stitch, which are the most common stitches in crochet. It is ideal for beginners to practice rhythm and consistency.
Can I sell the squares I make from this pattern?
You are welcome to sell finished items made from this pattern, provided you credit the design. Please do not sell or distribute the pattern itself, as it is protected by intellectual property rights.
How do I join multiple squares together?
You can join squares using a whip stitch or a single crochet seam. A whip stitch creates a flatter, less visible join, while a single crochet seam adds a decorative, raised ridge between the squares.
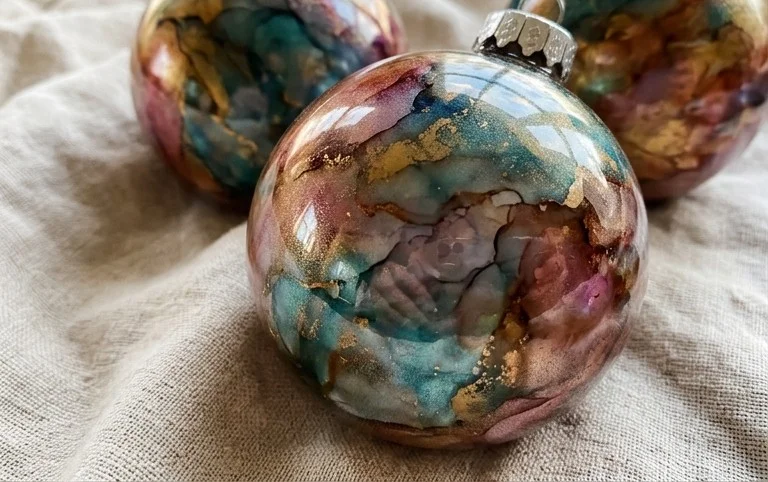
Your finished square looks great hanging in a window or tied to a gift package for someone special. You can adjust the final look by using a metallic thread held along with your yarn for extra shimmer or by adding a small wooden bead to the hanging loop. Please share a photo of your work on social media so others can see your color combinations. Check back on the blog next week to find more simple patterns for your home. Keep your hook handy because there is always something new to create using your favorite spare yarn.