Moss Stitch Crochet Tutorial: Simple Beginner Pattern
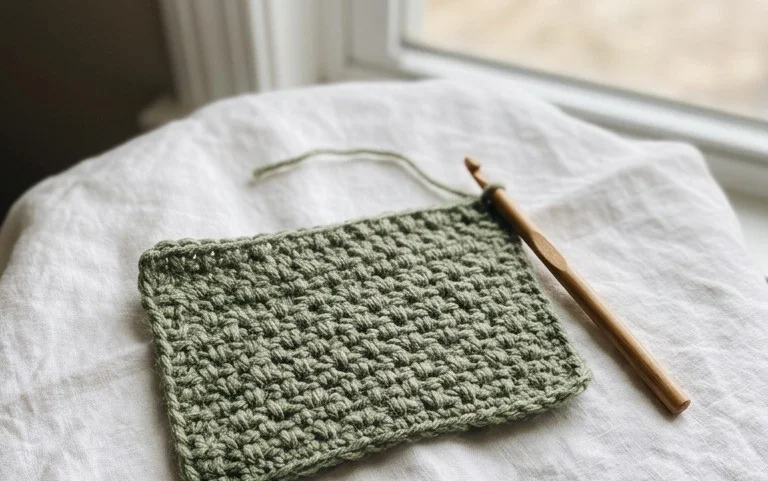
The fabric created by the moss stitch feels dense, sturdy, and elegant with a subtle woven appearance that mimics high-quality linen. Beginners enjoy this method because it relies entirely on simple single crochet stitches and chains, making it a meditative process that builds consistency in your tension. This technique produces a fabric with very little drape, which keeps your kitchen cloths from stretching out of shape during heavy scrubbing. You will learn how to maintain straight edges while alternating stitches to develop a uniform, squishy texture that feels substantial in your hands throughout this project.
Why You’ll Love This Pattern
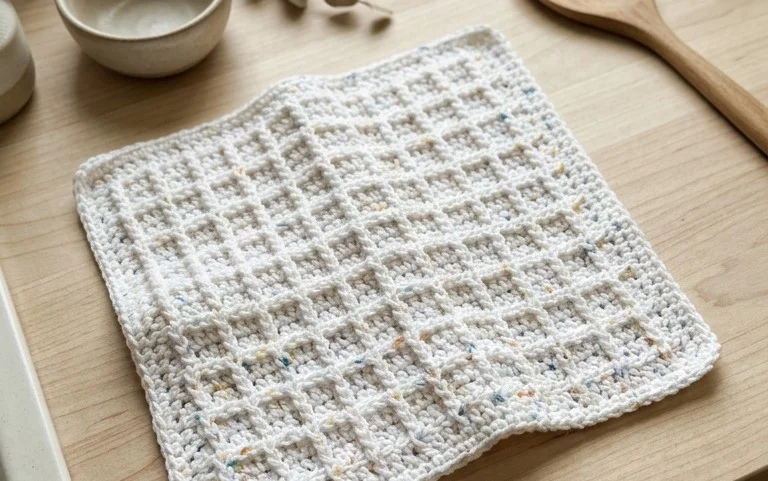
This classic crochet dishcloth is designed using the waffle stitch, creating deep, textured pockets that excel at scrubbing dishes and wiping up spills. The construction relies on simple post stitches that create a grid pattern, making it a rhythmic and relaxing project for long evenings. Because this pattern uses a durable cotton yarn, it holds up well against repeated washing and heavy-duty use in the kitchen. It is an ideal way to practice front post double crochet stitches while creating a functional item that replaces disposable paper towels or flimsy synthetic sponges.
I managed to finish a set of these over the weekend and they are significantly more absorbent than the store-bought versions I used to keep in my sink. The texture is perfect for scraping stubborn pans.
— Sarah, home crafter
Pattern Overview & Skill Level
- Skill Level: Advanced Beginner
- Approximate Time: 90 minutes per cloth
- Construction: Worked in rows with a turning chain, using a repeating stitch pattern across the width
- Finished Dimensions: 8 inches by 8 inches
Materials & Supplies Needed
- Yarn: Worsted weight (#4) 100% cotton yarn, approximately 80 yards per cloth
- Hook Size: 5.0 mm (US H-8)
- Notions: Tapestry needle for weaving in ends, scissors, and a measuring tape
- Yarn Substitutions: You may use a cotton-acrylic blend, though 100% cotton is recommended for maximum absorbency; using wool or acrylic will result in a cloth that is less effective at absorbing water and may melt if exposed to high heat from pots.
Stitch Guide & Abbreviations (US Terms)
- ch: chain
- st: stitch
- dc: double crochet
- FPdc: front post double crochet (yarn over, insert hook from front to back to front around the post of the indicated stitch, yarn over and pull up a loop, complete as a normal double crochet)
- sl st: slip stitch
- st(s): stitch(es)
- YO: yarn over
Step-by-Step Pattern Instructions
Dishcloth Body
- Foundation: Ch 30.
- Row 1: Dc in the 4th ch from hook and each ch across. (28 sts)
- Row 2: Ch 2 (counts as dc), *FPdc around next st, dc in next 2 sts; repeat from * until 3 sts remain, FPdc around next st, dc in last 2 sts. (28 sts)
- Row 3: Ch 2 (counts as dc), *dc in next st, FPdc around next 2 sts; repeat from * until 3 sts remain, dc in next 3 sts. (28 sts)
- Rows 4–24: Repeat Rows 2 and 3 alternately.
- Final Row: Work one row of dc in every stitch across to create a flat edge. Fasten off.
Finishing
Once you have reached the desired square shape, cut your yarn leaving a 6-inch tail. Pull the tail through the final loop to secure it. Use your tapestry needle to weave the tail back and forth through the base of the stitches on the back side of the cloth to ensure it does not unravel during laundering. Trim any excess yarn close to the fabric.
Care & Washing Instructions
- Machine wash your dishcloths in warm water on a gentle cycle to prevent excessive fraying.
- Lay the cloths flat on a towel to air dry, which helps them maintain their square shape without shrinking.
- If the waffle texture flattens over time, soak the cloth in water and reshape it with your hands before laying it flat to dry.
Pro Tips & Common Mistakes to Avoid
Consistent tension is the secret to a professional-looking waffle stitch; if your stitches are too tight, the fabric will become stiff and lose its scrubbing utility. Always use a stitch marker in the first stitch of every row to ensure your count remains at 28, as it is easy to skip the last stitch in post-stitch patterns. Weave your ends into the body of the work rather than just along the edge to prevent them from popping out after several washings. If you wish to make the dishcloth larger, increase your foundation chain by a multiple of 3, keeping in mind that this will require additional yardage beyond the standard 80 yards.
Frequently Asked Questions
Can I substitute the cotton yarn with acrylic yarn?
While you can, it is not recommended for kitchen use. Acrylic yarn is not absorbent and will struggle to clean surfaces, plus it can melt if it touches a hot stove or pan.
Why do my edges look wavy instead of straight?
Wavy edges usually occur when your tension is uneven or you are accidentally adding stitches at the end of a row. Ensure you are counting your stitches at the end of every row to keep the count at 28.
Is this pattern suitable for someone who has only done single crochet?
Yes, as long as you are comfortable with double crochet. The front post stitch is just a variation of the standard double crochet, and this pattern is a great way to build confidence with that technique.
Can I sell the dishcloths I make from this pattern?
You are welcome to sell finished items made from this pattern, but please credit the design appropriately and do not redistribute the written instructions or photos as your own.
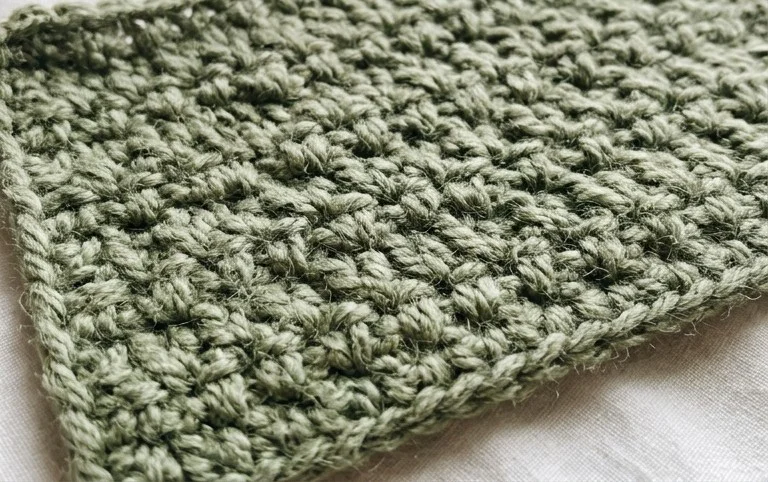
Your finished piece provides a sturdy, reliable surface that scrubs away grime without falling apart in the sink. You can experiment by holding two strands of thinner yarn together for a thicker, faster-working cloth or by alternating color stripes every four rows to use up leftover scraps from your stash. Post a photo of your finished work on social media to show off those clean, sharp edges. Browse my other home project guides on the blog to find more ways to fill your kitchen drawers with handmade items.