Easy Christmas Crochet Tote Bag: Free Pattern for Gifts
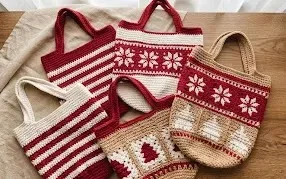
Red and green yarn, a cheerful holiday motif, and a sturdy crocheted fabric give a Christmas tote bag its useful, festive look. The finished bag can carry small gifts, greeting cards, or the bits and pieces you bring along to a holiday gathering. Its handmade texture feels warm and substantial, while the seasonal design looks right at home beside the tree or on a coat hook. Beginners can enjoy the steady rhythm of repeated crochet stitches, and experienced makers can finish one as a thoughtful gift without a long project on the go. In this pattern, you’ll find guidance for the stitch technique and the details that help the bag take shape, including a neat finish for everyday handling. It’s a satisfying make because each section adds visible progress, and the finished tote is ready to use or give.
Why You’ll Love This Pattern
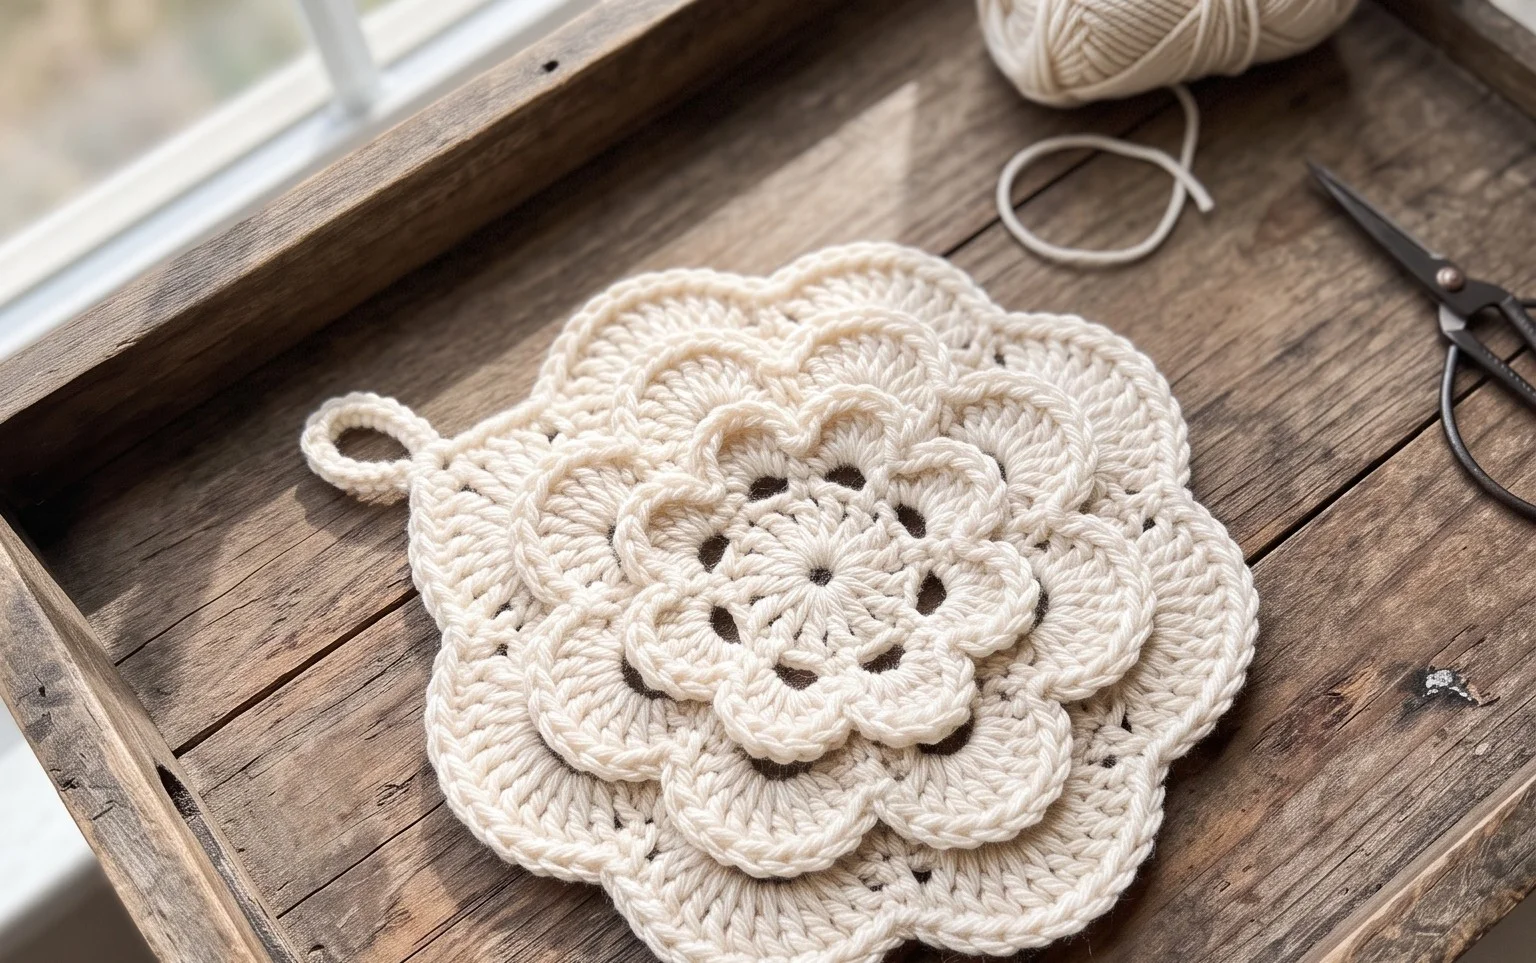
A firm cotton dishcloth with a simple single crochet fabric is useful at the sink and easy to finish in one sitting. This beginner-friendly pattern works flat in rows, so you do not need to join rounds or keep track of increases. The repeated stitch makes it a good project for practicing even tension, and the small size is handy when you want to use part of a ball of cotton yarn.
Make the cloth with one color or use leftover cotton for stripes. A dense single crochet fabric holds up to regular use, while the straightforward shape makes the finished piece practical for a housewarming gift or a kitchen drawer.
The rows were easy to follow, and I had a sturdy little cloth finished before the evening was over.
— Sample maker note
Pattern Overview & Skill Level
- Skill Level: Beginner. You need to chain, single crochet, and turn your work.
- Approximate Time: About 1 to 1½ hours, depending on your pace and tension.
- Construction: A flat rectangle worked back and forth in rows. The turning chain does not count as a stitch.
- Finished Dimensions & Sizing: About 7¼ by 7½ inches (18.5 by 19 cm) after washing and drying flat. Cotton and individual tension can change the final measurements slightly.
Materials & Supplies Needed
- Yarn: About 45 yards (41 m) of worsted-weight cotton yarn, category 4. Choose a smooth, washable cotton in one color, or use two colors with at least 45 yards total.
- Hook: 5.0 mm / H-8 crochet hook.
- Notions: Tapestry needle for the starting and finishing tails, scissors, ruler, and an optional stitch marker for the first stitch of a row.
- Substitutions: A cotton-linen blend can make a slightly drapier cloth. A cotton-acrylic blend may feel softer but can be less absorbent. Use a similar worsted weight and check the gauge; a thicker yarn or larger hook makes a bigger, looser cloth and uses more yarn.
Gauge: 14 single crochet stitches and 16 rows measure 4 inches (10 cm) with the recommended hook. Make a small test swatch and adjust the hook if your stitches are much tighter or looser. This helps the cloth reach the listed size and keeps its fabric dense enough for washing.
Stitch Guide & Abbreviations (US Terms)
- ch: Chain. Yarn over and pull the yarn through the loop on the hook.
- sc: Single crochet. Insert the hook into the stitch, yarn over and pull up a loop, then yarn over and pull through both loops on the hook.
- st / sts: Stitch / stitches.
- Turning chain: The chain made at the start of a row to bring the yarn to working height. In this pattern it does not count as a stitch.
The pattern uses US crochet terms. Work each single crochet under both top loops unless you prefer another placement; keeping the same placement throughout gives the cloth a consistent texture.
Step-by-Step Pattern Instructions
Dishcloth
- Row 1: Ch 26. Sc in the second ch from the hook and in each ch across. The first chain skipped does not count as a stitch. (25 sts)
- Row 2: Ch 1 and turn. Sc in each st across. (25 sts)
- Rows 3–10: Repeat Row 2. Each row has 25 sts.
- Rows 11–20: Continue as for Row 2, making 25 sc in every row. (25 sts per row)
- Rows 21–30: Continue as for Row 2. Check that each row still has 25 sc before turning. (25 sts per row)
Finishing
After Row 30, cut the yarn, leaving a tail about 6 inches (15 cm) long. Pull the tail through the last loop to fasten off. Thread the tail onto a tapestry needle and weave it through several stitches on the wrong side, then change direction and weave it through a few more stitches so it is less likely to come loose in the wash. Weave in the starting tail the same way.
Lay the cloth flat and measure it. If the edges curl, dampen it with cool water, smooth the corners, and let it dry flat. A narrow difference from the listed dimensions is normal; washing and personal tension affect cotton fabric.
Care & Washing Instructions
- Wash cotton in cool or warm water, up to about 40°C (104°F), with similar laundry; check the yarn label before using bleach or a hot wash.
- Dry flat when possible to help the cloth keep its rectangular shape. If machine drying, follow the yarn label because heat can shrink cotton.
- While damp, smooth the edges and corners by hand. Cotton usually does not need formal blocking, but reshaping helps if the rows have drawn in unevenly.
Pro Tips & Common Mistakes to Avoid
- Keep your tension steady, especially along the foundation chain. If that edge is much tighter than the rows, try making the chain with a slightly larger hook, then switch back to the 5.0 mm hook for Row 1.
- Count the stitches before turning. Place a marker in the first stitch of each row if you tend to miss the last stitch; skipping it can make the cloth narrower after several rows.
- Do not pull the yarn tails tight enough to pucker the fabric when weaving them in. Follow the path of the stitches and change direction once to help secure each end.
- For a wider cloth, add an even number of chains and work one fewer single crochet than the chain count. For extra length, add rows. Both changes use more yarn, so allow additional yardage and check the finished measurements as you go.
Frequently Asked Questions
Can I use a different yarn fiber?
Yes, but cotton is absorbent and suits a dishcloth best. A cotton-linen blend is a workable alternative. Acrylic may be less absorbent, and wool may felt or change shape with repeated washing. Check the yarn label and make a swatch before starting.
How can I make the dishcloth smaller or larger?
For a narrower cloth, start with fewer chains while keeping the starting chain count one greater than the number of stitches you want. For more width, add chains; for more length, add rows. Recheck the stitch count and expect the yarn amount and finished dimensions to change.
Is this pattern suitable for a first crochet project?
Yes. It uses only chains and single crochet worked in straight rows. The main challenge is recognizing the first and last stitches at the edges, so count each row until the rectangle is consistent.
May I sell dishcloths made from this pattern?
You can sell finished pieces if the designer’s terms allow it. Check the pattern license or the terms where you found the instructions, and write your own product description and photographs rather than presenting the pattern as your own.
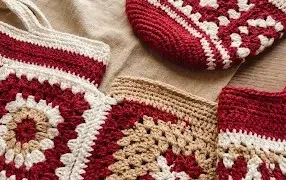
A finished Christmas tote has a cheerful place in holiday errands, gift giving, and seasonal decorating, and it’s satisfying to see the stitches turn into something you can carry. For a simple variation, change the color combination to match your tree or use a single shade for a quieter winter look. You could also make the bag slightly wider if you want more room for cards and small presents, while keeping the overall design the same. If you make one, share a photo on Pinterest or your favorite social media platform so other crocheters can see how your colors turned out. Then explore more free crochet patterns on the blog for your next handmade project.