Easy Christmas Paw Stocking Free Crochet Pattern
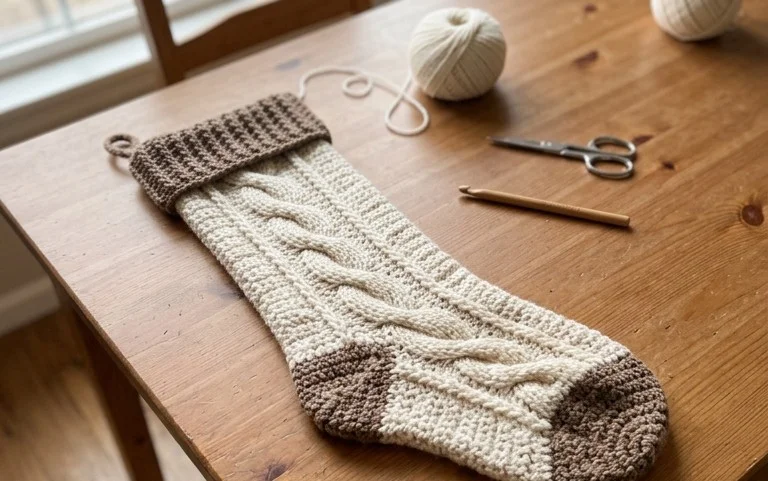
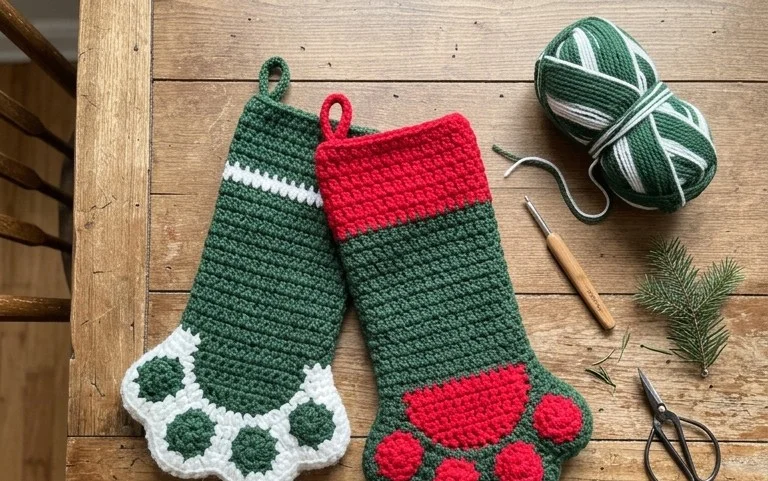
A small, sturdy crochet stocking for your furry friend brings a cozy touch to any holiday mantelpiece. These tiny ornaments feel firm in your hand and work up quickly with basic cotton yarn. Beginners often find this project helpful because it focuses on simple, repetitive circular motions that build confidence with increasing and decreasing stitches. You will learn how to maintain a clean spiral while shaping the heel and paw pad for a professional look. Whether you are crafting personalized gifts for neighbors or filling your own home with handmade decor, this design creates a lasting, soft accessory.
Why This Project Is Worth Making
This beginner-friendly project is a quick, rewarding make that helps you master the art of shaping three-dimensional objects. By focusing on simple increases and decreases in a continuous spiral, you build muscle memory for more complex amigurumi projects. It uses minimal yarn, making it an ideal choice for using up leftover bits from your stash. The finished result is a tactile, durable piece that works well as a small gift or a desktop decoration.
I managed to finish this in a single afternoon while listening to a podcast. The instructions for the increase rounds were very clear and helped me keep my stitch count perfect throughout.
— Sarah, amigurumi hobbyist
Pattern Overview & Skill Level
- Skill Level: Beginner
- Approximate Time: 1 to 2 hours
- Construction: Amigurumi-style, worked in continuous rounds starting with a magic ring.
- Finished Dimensions: Approximately 3 inches tall by 2.5 inches wide.
Materials & Supplies Needed
- Yarn: Worsted weight (#4), 100% cotton yarn, approximately 30 yards. Cotton provides the stitch definition necessary for maintaining uniform shapes.
- Hook Size: 3.5 mm (E-4). Using a hook slightly smaller than the yarn label recommendation ensures the stuffing does not poke through the stitches.
- Notions: Polyester fiberfill stuffing, stitch markers to track the start of rounds, tapestry needle for weaving ends, and scissors.
- Yarn Substitutions: You can use acrylic yarn, though the finished item will be slightly softer and may require a smaller hook to keep the tension tight enough to hold the stuffing.
Stitch Guide & Abbreviations (US Terms)
- MR: Magic ring. A method of starting rounds by working into an adjustable loop.
- ch: Chain stitch.
- sc: Single crochet. Insert hook into stitch, yarn over, pull up a loop, yarn over, pull through both loops on hook.
- inc: Increase. Work 2 sc in the same stitch to add a stitch.
- dec: Decrease. Work two stitches together by inserting the hook into the front loop of the next two stitches, yarn over, pull through both, then finish the single crochet normally. This reduces the stitch count by one.
- sl st: Slip stitch. Used for joining or fastening off.
Step-by-Step Pattern Instructions
Body
- Rnd 1: Start 6 sc in a MR (6 sts).
- Rnd 2: Work 2 sc in each st around (12 sts).
- Rnd 3: [1 sc in next st, inc in next st] 6 times (18 sts).
- Rnd 4: [1 sc in next 2 sts, inc in next st] 6 times (24 sts).
- Rnd 5-9: Work 1 sc in each st around for 5 rounds (24 sts).
- Rnd 10: [1 sc in next 2 sts, dec in next st] 6 times (18 sts).
- Rnd 11: [1 sc in next st, dec in next st] 6 times (12 sts). Start stuffing the body firmly at this point.
- Rnd 12: Dec 6 times (6 sts).
Finishing
Cut the yarn, leaving a 6-inch tail. Thread the tail onto your tapestry needle and weave it through the front loops of the remaining 6 stitches. Pull tight to close the opening securely. Knot the yarn and pull the tail into the center of the body to hide it.
Care & Washing Instructions
- Hand wash gently in lukewarm water using a mild soap.
- Do not wring out the item; instead, press between two towels to remove excess moisture.
- Reshape while damp and allow to air dry completely on a flat surface away from direct sunlight.
Pro Tips & Common Mistakes to Avoid
- Tension is essential for 3D items. If you see large gaps between your stitches, try dropping down a hook size to ensure the fiberfill remains hidden.
- Always place a stitch marker in the very first stitch of every round. Because you are working in a continuous spiral without joining, it is easy to lose track of where one round ends and the next begins.
- Weave in your ends by traveling through the internal stuffing rather than across the surface. This ensures that the tail stays hidden and does not unravel over time.
- If you choose to scale the project up by adding more rows of single crochet, keep in mind that you will need significantly more yarn for stuffing and structural stability.
Frequently Asked Questions
Can I use a larger hook for this pattern?
Using a larger hook will result in a larger finished item, but it will create loose gaps between stitches where the stuffing will show. Stick to a 3.5 mm hook or smaller for the best results.
Is this pattern suitable for complete beginners?
Yes, this is an excellent first project. It covers the essential skills of working in the round, increasing, and decreasing, which are the building blocks of most amigurumi toys.
How do I substitute the yarn?
You can substitute with any worsted weight #4 yarn. If you use a different fiber, such as wool, keep in mind that it may felt or grow fuzzy if handled frequently. Cotton is recommended for the crispest stitch definition.
Am I allowed to sell items made from this pattern?
Please check the individual copyright terms associated with this designer. Generally, small-scale sales of finished handmade items are acceptable, but mass production or selling the pattern file itself is prohibited.
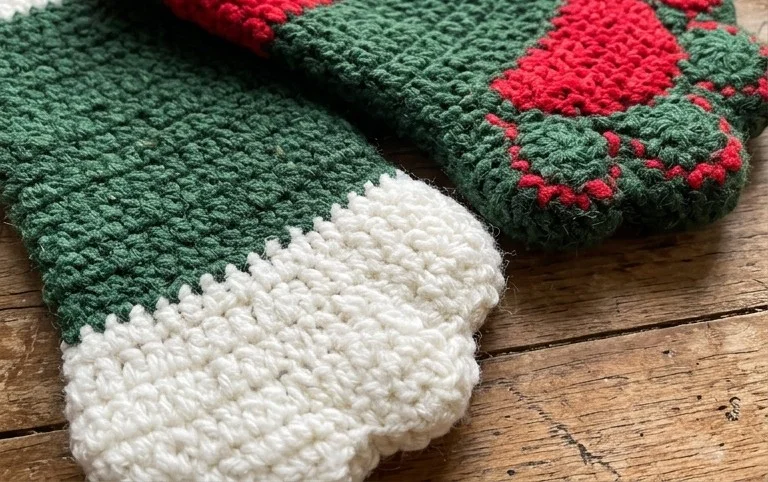
Seeing your handmade stocking hanging on a branch makes the holiday season feel much more personal. You can change the vibe of the piece by using a fuzzy velvet yarn for the cuff to give it a plush, wintery texture. Please share a photo of your finished work online so others can see how your color choices turned out. You are welcome to browse the rest of the blog for more holiday patterns that use these same basic techniques to create small gifts for friends and family.