Easy Ribbed Crochet Beanie: Free Beginner Pattern
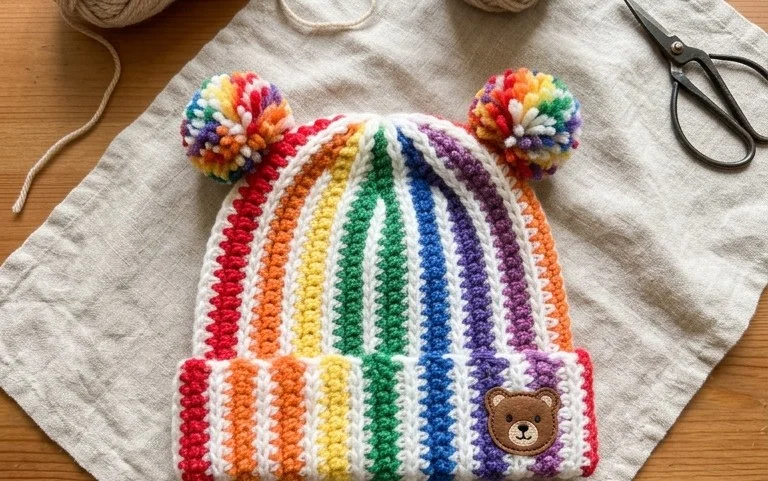
Soft worsted yarn pressed against your ears provides the kind of comfort that makes winter mornings feel manageable. This ribbed hat design sits low on the forehead and maintains a snug fit that stays put even on windy days. New makers often struggle with hats that feel too stiff or bulky, but this construction uses a simple back loop technique to create a fabric that moves with you. You will practice working flat panels that transform into a polished, store-bought look once seamed. It is a satisfying project to finish in a few hours, perfect for gift-giving or building your own winter wardrobe.
Why You’ll Love This Pattern
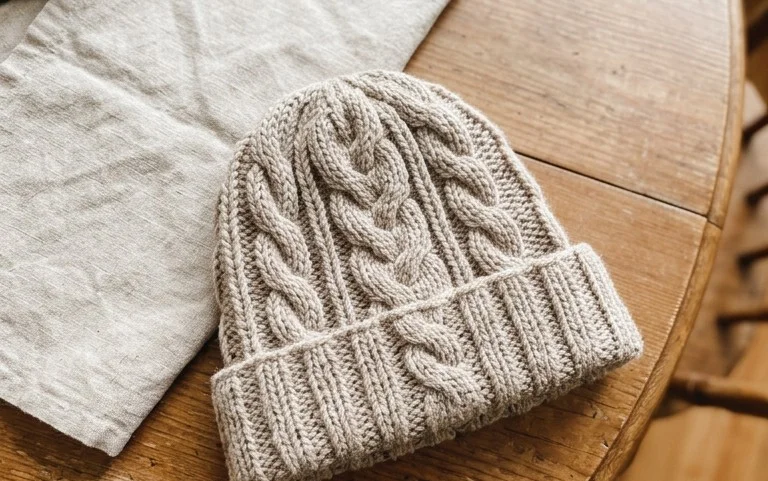
This crochet ribbed beanie offers a classic, fitted silhouette that sits snugly against the head, providing warmth without the bulk of heavy accessories. The design relies on a vertical panel construction, which allows you to customize the length by simply adding or subtracting rows before seaming. Because the pattern uses a simple half double crochet in the back loop only technique, the resulting fabric mimics the look of professional knit ribbing while maintaining the elasticity and speed of crochet. This project serves as an ideal stash-buster for medium-weight yarn, and the rhythmic, repetitive nature of the stitches makes it a relaxing choice for evening crafting sessions.
I managed to finish this hat in one sitting while watching a movie. The instructions were easy to follow and the ribbing looks exactly like the store-bought ones I usually buy.
— Sarah, hobbyist maker
Pattern Overview & Skill Level
- Skill Level: Beginner
- Approximate Time: 2 to 3 hours
- Construction: Flat rectangular panel worked in rows, then seamed vertically to form a tube with one end cinched shut.
- Finished Dimensions & Sizing: Adult medium, approximately 9 inches wide by 11 inches tall before folding the brim.
Materials & Supplies Needed
- Yarn: Worsted weight (#4) wool or acrylic blend, approximately 200 yards.
- Hook Size: 5.0 mm (US H-8).
- Notions: Tapestry needle for seaming and weaving ends, locking stitch markers, measuring tape, and scissors.
- Safe yarn substitutions: You can use a cotton blend for a lighter, seasonal version, though be aware that cotton lacks the “memory” of wool and may stretch out over time. If you use a thicker Aran-weight yarn, you may need to reduce your foundation chain length by five stitches to maintain the same fit.
Stitch Guide & Abbreviations (US Terms)
- ch: Chain
- hdc: Half double crochet
- BLO: Back loop only. Insert hook only under the back strand of the V-shaped stitch top.
- st/sts: Stitch/stitches
- sl st: Slip stitch
- FO: Fasten off
Step-by-Step Pattern Instructions
Main Hat Panel
- Row 1: Ch 46. Work 1 hdc in the third chain from the hook and in each ch across. Turn. (44 sts)
- Row 2: Ch 2 (does not count as a stitch). Work 1 hdc in the BLO of each st across. Turn. (44 sts)
- Rows 3 to 60: Repeat Row 2. This length provides enough room for a folded brim. If you prefer a beanie without a folded brim, stop at 40 rows.
Assembly and Finishing
- Fold the rectangle in half so the short ends meet.
- Using your tapestry needle and a long tail of yarn, seam the two short ends together using a whip stitch or mattress stitch.
- Once the seam is complete, do not FO. Instead, use your needle to weave the yarn in and out of the stitches along the top edge of the tube.
- Pull the yarn tail tight to cinch the top of the hat closed like a drawstring bag.
- Secure the yarn with a tight knot on the inside and weave in all remaining ends. Turn the hat right-side out.
Care & Washing Instructions
- Hand wash in cool water using a mild wool-safe detergent to preserve the elasticity of the ribbing.
- Lay the hat flat on a dry towel and reshape it immediately after washing to prevent stretching.
- Avoid using a tumble dryer, as heat can break down the fibers and cause the hat to lose its snug fit.
Pro Tips & Common Mistakes to Avoid
Maintain consistent tension by holding your yarn with a steady grip, as the ribbing texture will show uneven stitches very clearly. Use a stitch marker at the start of every row to ensure you are catching the last stitch of the row, which is often hidden, to avoid accidentally decreasing your stitch count. When weaving in your ends, travel through the backside of the stitches rather than pulling tight through the front, which keeps the interior clean and prevents visible bumps. If you find the hat is too loose for your preference, reduce the initial foundation chain by 4 stitches to tighten the circumference.
Frequently Asked Questions
Can I use a larger hook to make this project faster?
Yes, using a larger hook will increase the size of the stitches and the overall dimensions of the hat. You will likely need to adjust your foundation chain to be shorter if you choose this route to keep the hat from being too large.
Is this pattern suitable for someone who has never crocheted before?
This pattern is excellent for beginners because it uses only one basic stitch. Once you master the half double crochet, the rest of the project is simply repeating that same motion until the rectangle reaches the desired width.
How do I adjust the size for a child?
To make this for a smaller head, measure from the crown of the head to the base of the ear and use that measurement for your foundation chain. You can also work fewer rows to decrease the overall circumference of the hat.
Am I allowed to sell hats made from this pattern?
You are welcome to sell finished items created from this pattern, provided you credit the design. Please do not sell or redistribute the written instructions themselves, as the copyright remains with the designer.
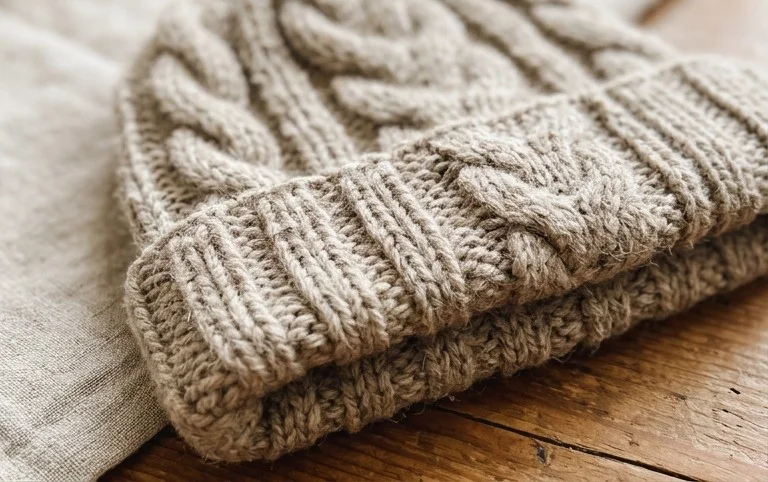
Seeing your handmade hat come together is satisfying because the vertical ribbing adds a professional touch to any winter outfit. You can easily adjust the size for a child by reducing the number of starting chains or try using a variegated yarn to give the texture more visual interest. When you finish your project, posting a photo of your work is a great way to inspire other makers in the community. Visit the main blog page to find additional patterns for matching scarves and mittens to complete your set.